Lots of users already have some smart hardware from brands like Hue, Ikea or Xiaomi. And every brand has his own separate bridge or gateway.
They are all using the Zigbee protocol. There are some dongles available that can communicate with several brands (Zigate or
But that is changed now! Open Source developer Koen Kanters (Koenkk) started the project zigbee2mqtt. Which aims to develop a Zigbee to MQTT bridge, so you only need a single Zigbee bridge. This project contains very good documentation and has great potential. In a few steps, you are able to get rid of the popular Xiaomi gateway that sends your data to China. With cheap hardware, you can create an opensource gateway that is usable for systems like Domoticz of Home-assistant.
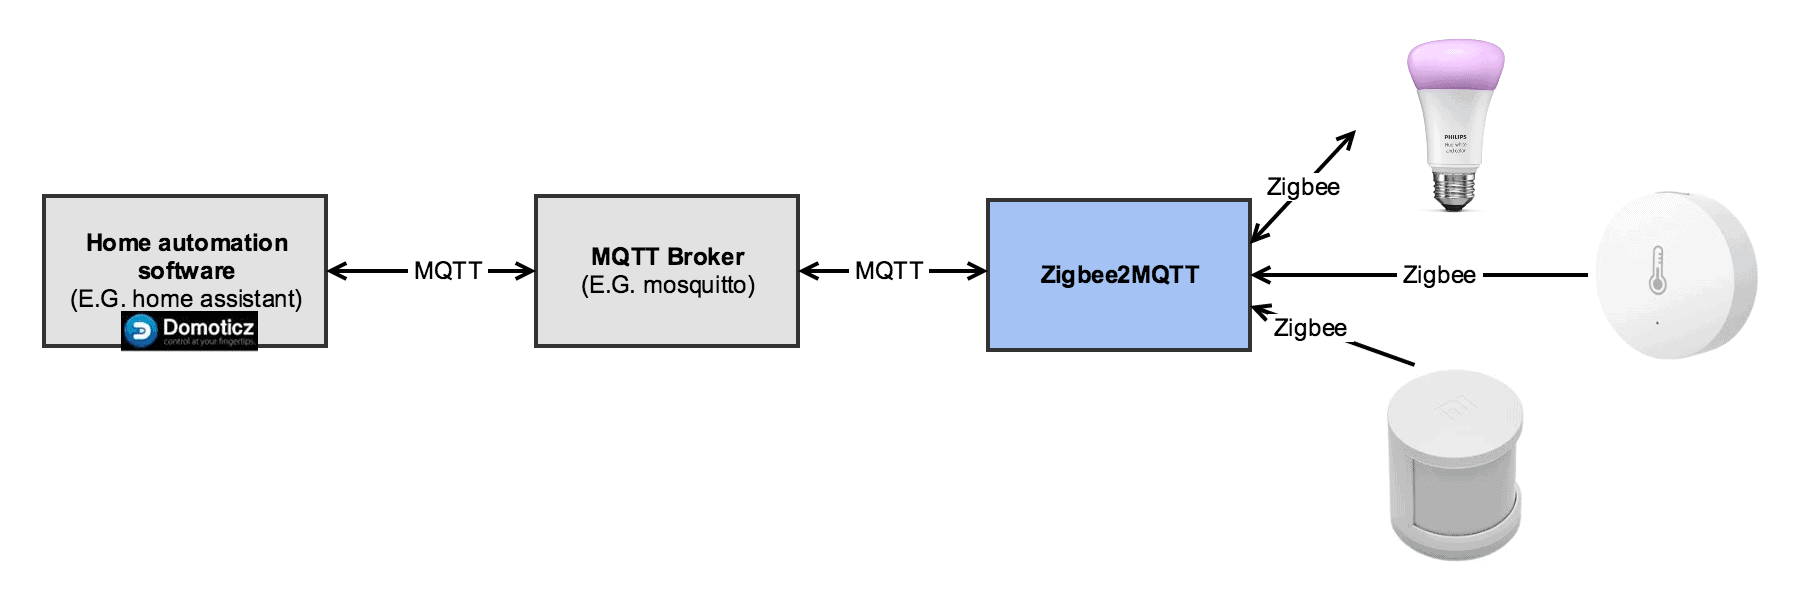
Check the incredible list of already compatible devices.
Contents
Getting started with zigbee2mqtt Zigbee Gateway
There are multiple options; different hardware, flashing modes and besides a Raspberry Pi, you can run the software in a Docker Container. But we go for the best and cheapest DIY hardware, Flashing the hardware on windows and running the software on a Raspberry PI. If you are in need of other ways you can read the information on the wiki of the zigbee2mqtt project.
4 Easy steps to get rid of your non-DIY gateways and bridges:
1: Buy hardware
2: Preparing the hardware
3: Install the software
4: Domoticz plugin.
Buy the right hardware
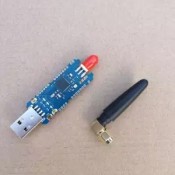
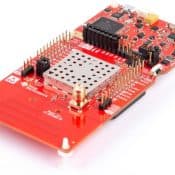
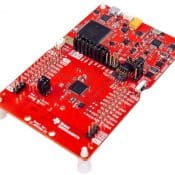
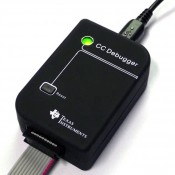
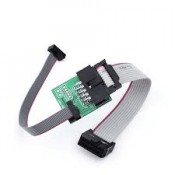
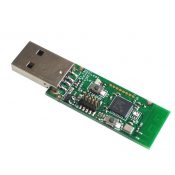
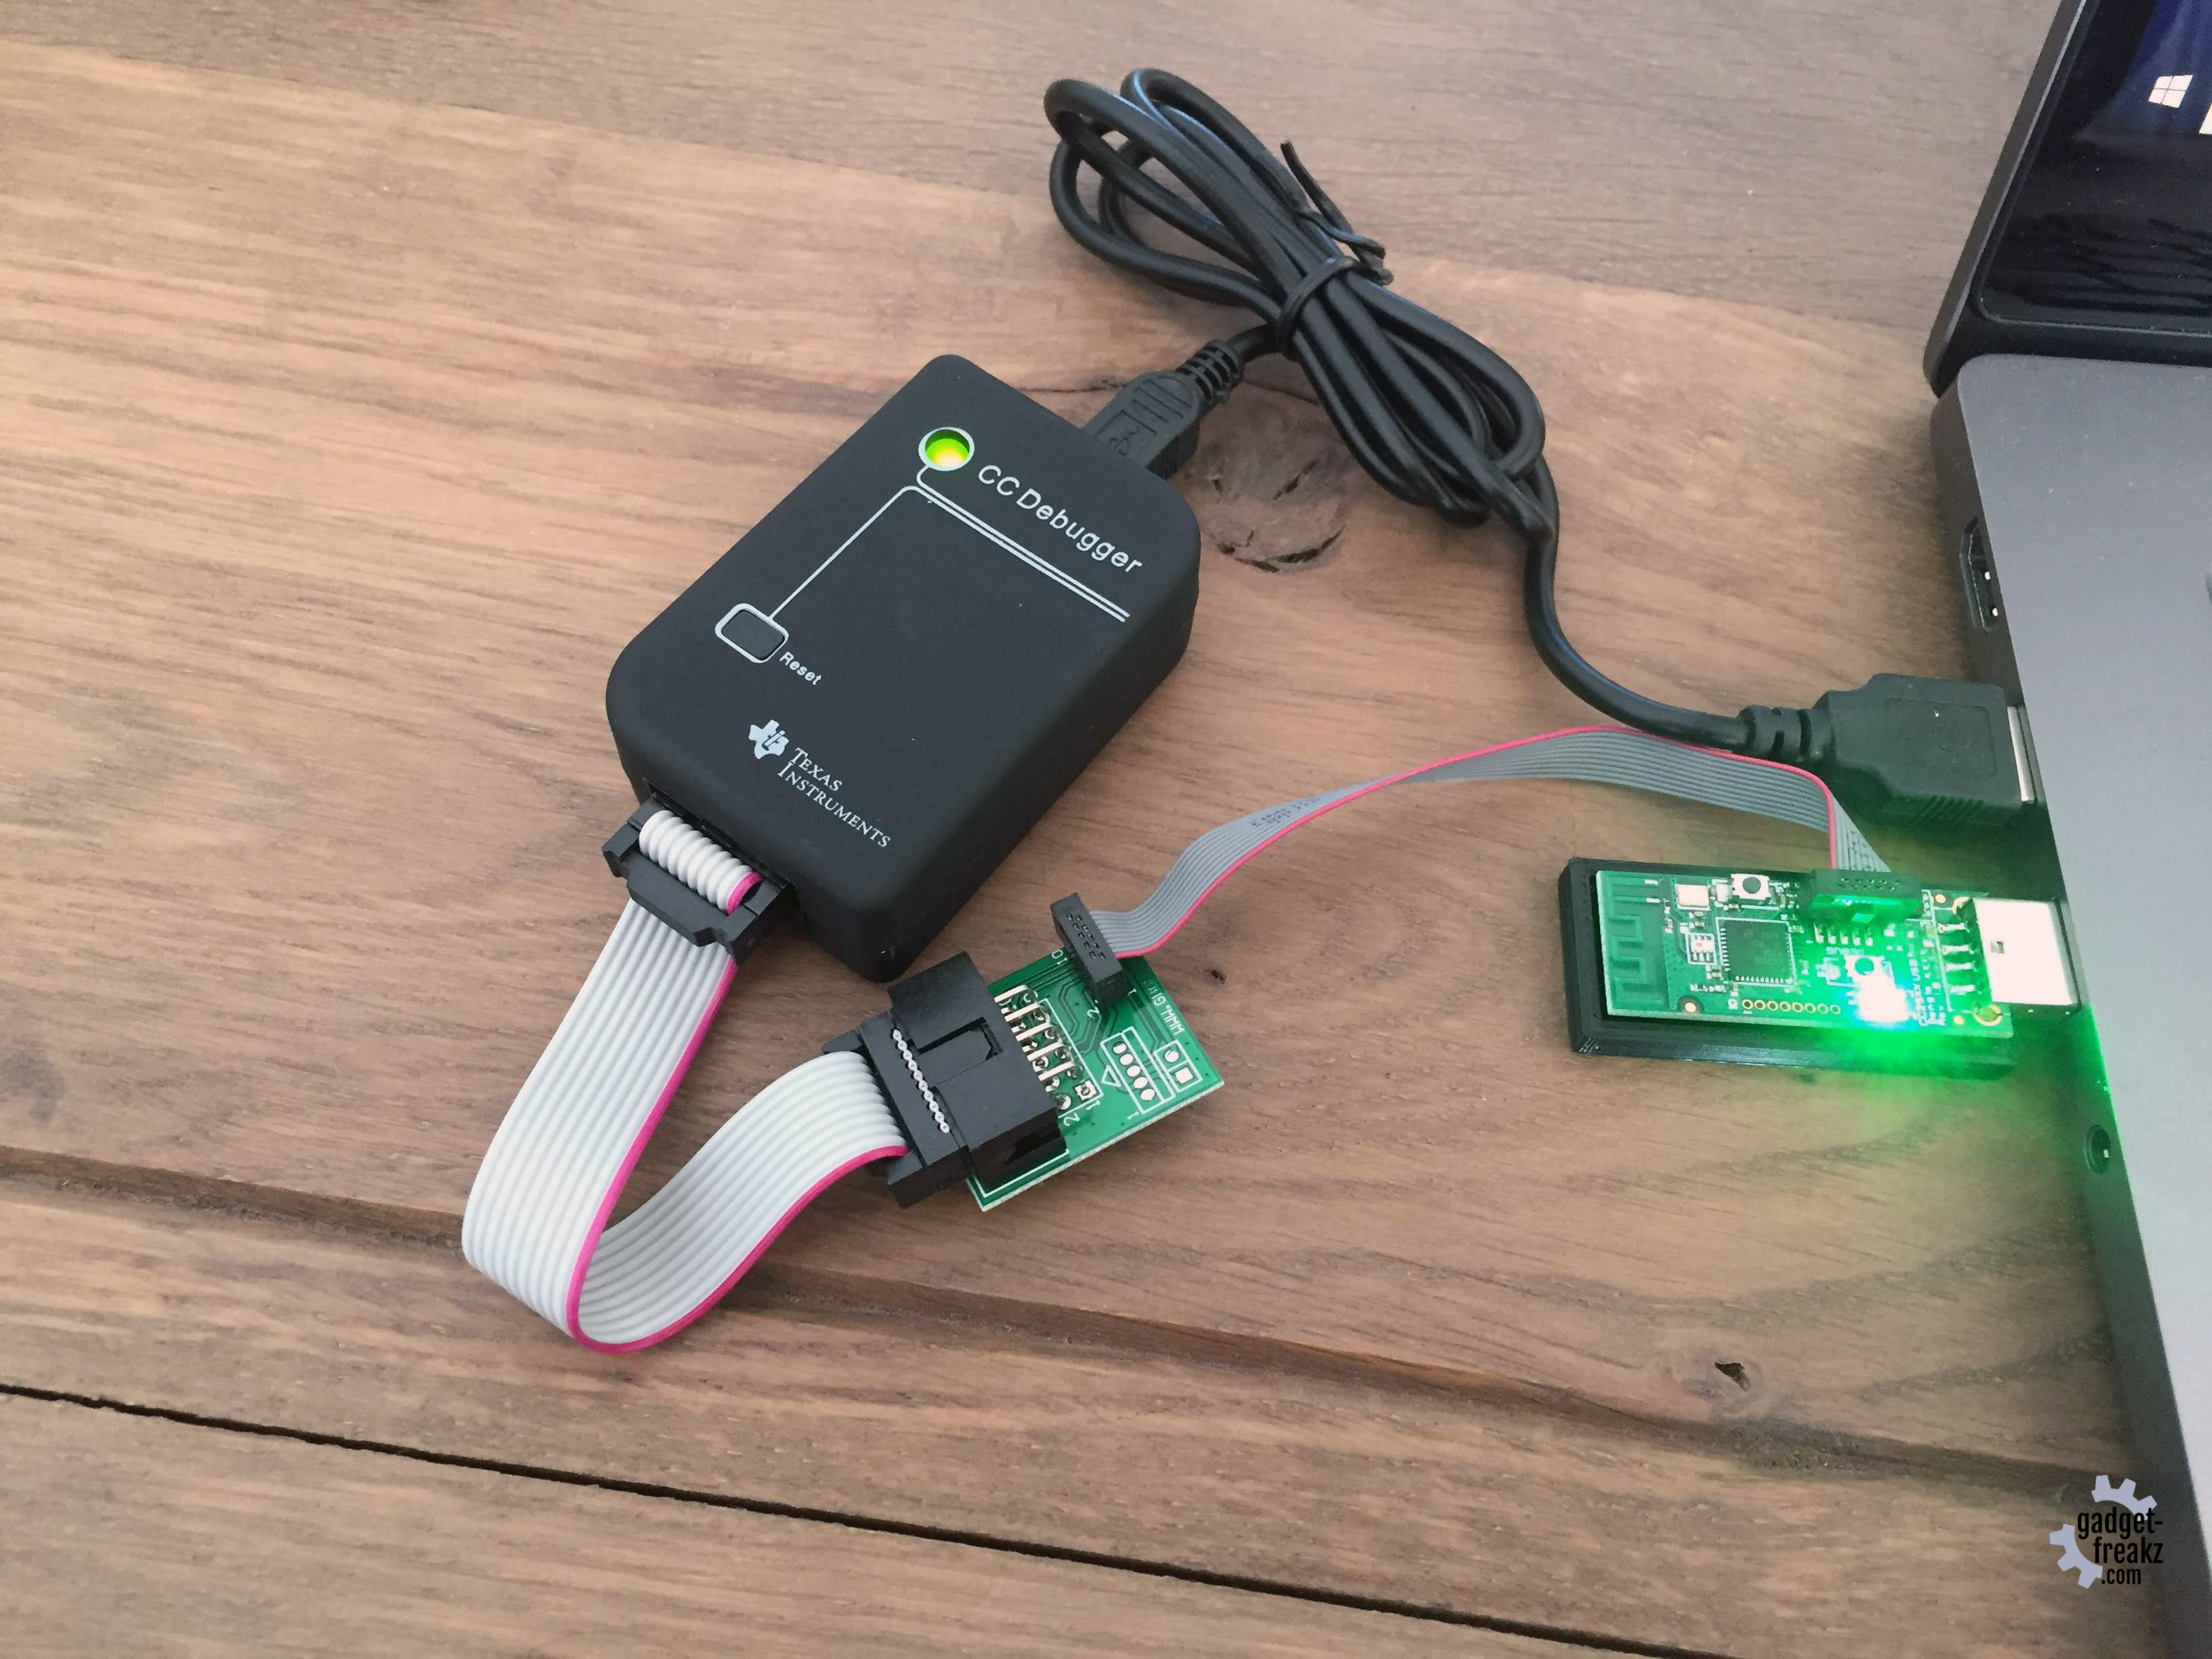
You only need the CC debugger and the downloader cable once to flash the firmware on the USB sniffer so it can operate as a Zigbee gateway. But it’s handy to keep so you can create more gateways in the future. Or you can buy it together with your friends and share the debugger and downloader cable to save some money. 😉
Prepare Hardware (Flashing)
There are several ways to flash the sniffer. This is described very well on the getting started page of the zigbee2mqtt wiki. We followed the instructions for Windows and Linux and you can choose which you prefer the most.
Linux (Raspberry Pi)
Connect the CC2531 USB to your Raspberry Pi
[cc lang=”bash” escaped=”true” width=”90%” noborder=”1″] ls -l /dev/ttyACM0 git clone https://github.com/dashesy/cc-tool.git cd cc-tool ./configure make –Download the firmware wget https://raw.githubusercontent.com/Koenkk/Z-Stack-firmware/master/coordinator/CC2531/bin/CC2531ZNP-Prod.hex –or: curl https://raw.githubusercontent.com/Koenkk/Z-Stack-firmware/master/coordinator/CC2531/bin/CC2531ZNP-Prod.hex -o CC2531ZNP-Prod.hexsudo ./cc-tool -e -w CC2531ZNP-Prod.hex[/cc]
Windows
We bundled the prerequisites for Windows with:
Flasher software, driver and firmware in 1 zip. Download HERE.
- Install SmartRF Flash programmer.
- Install the CC debugger driver.
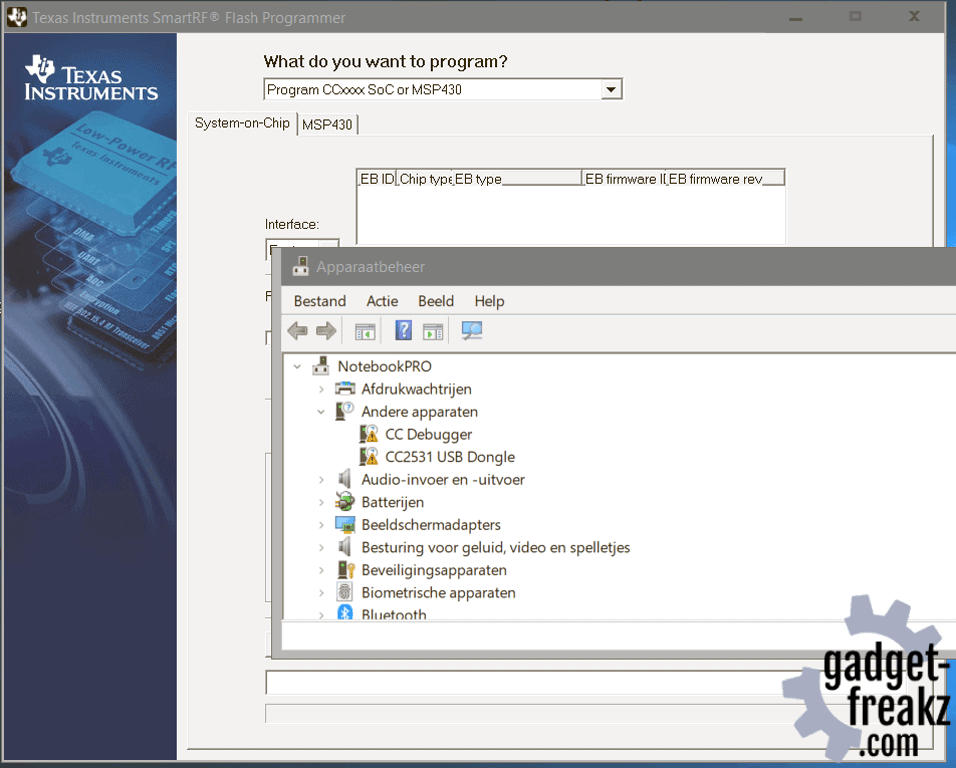
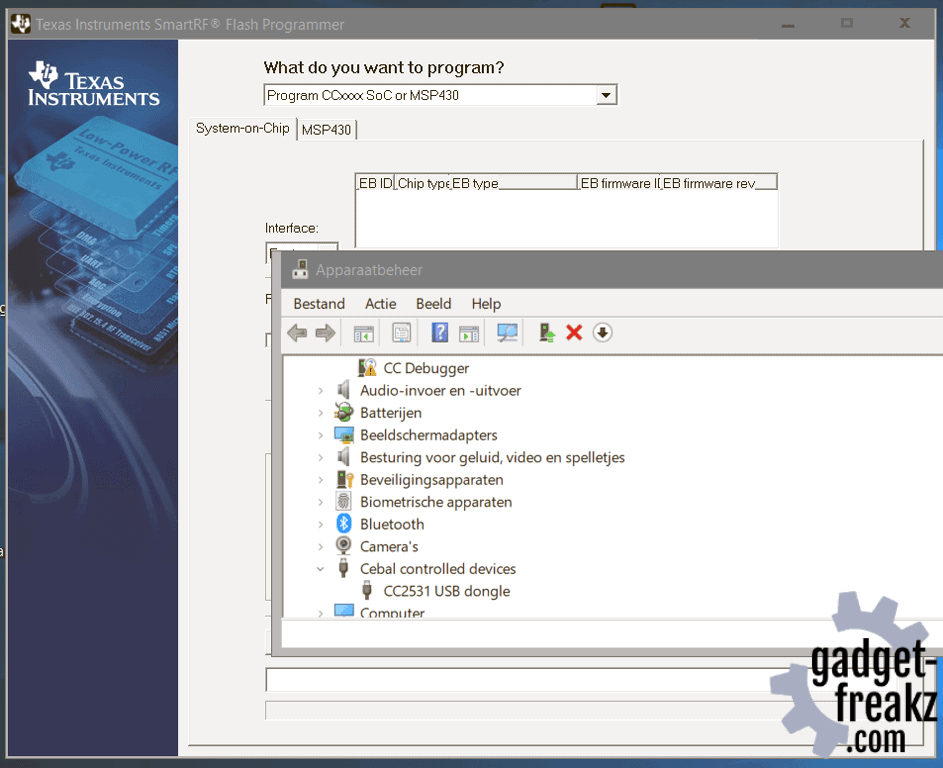
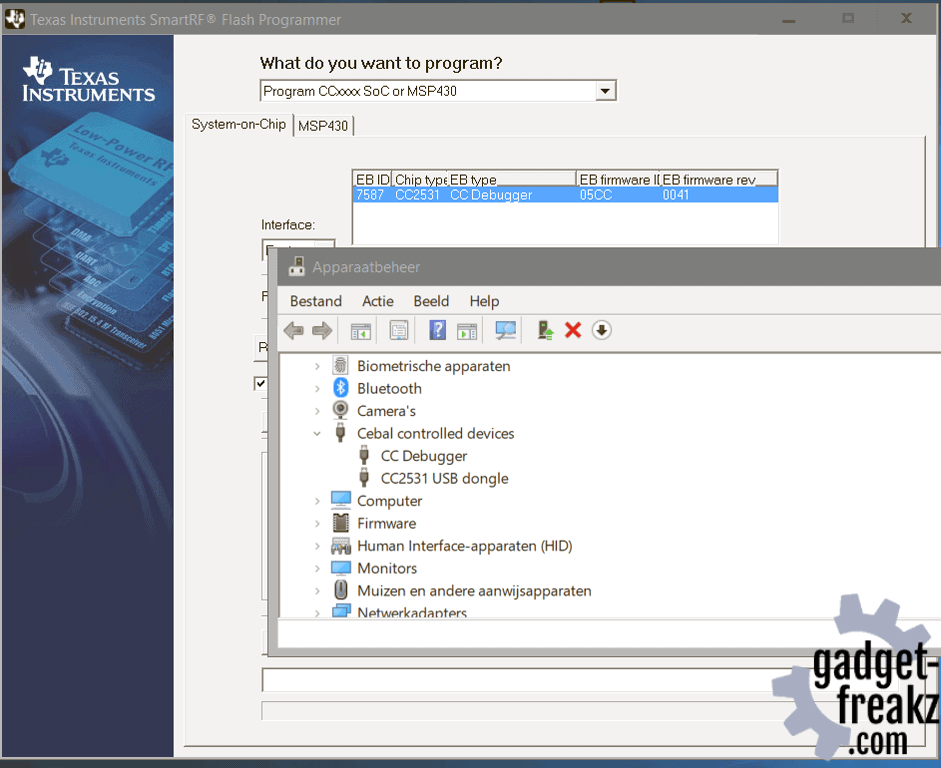
- When I used the setup the installation was not correct, and manually pointing to the drivers was needed. See the screenshots below.
- Connect the debugger with the Downloader cable to the cc2531 USB Sniffer.
- Connect both USB (from debugger and Sniffer) the same time.
- If the light on the CC debugger is RED, press
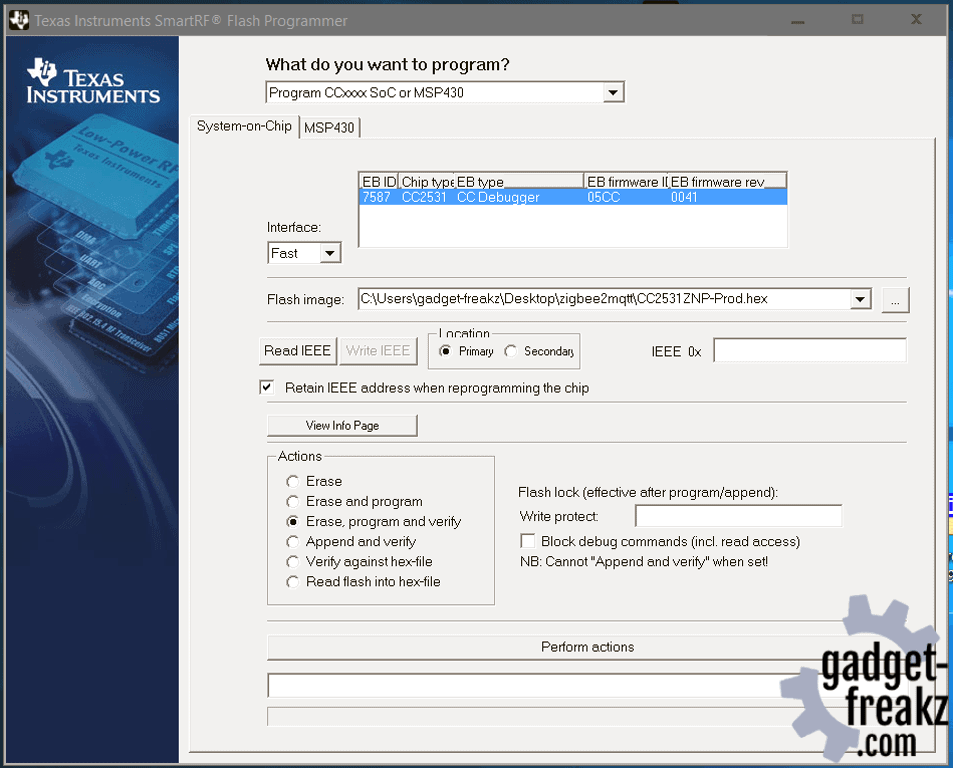
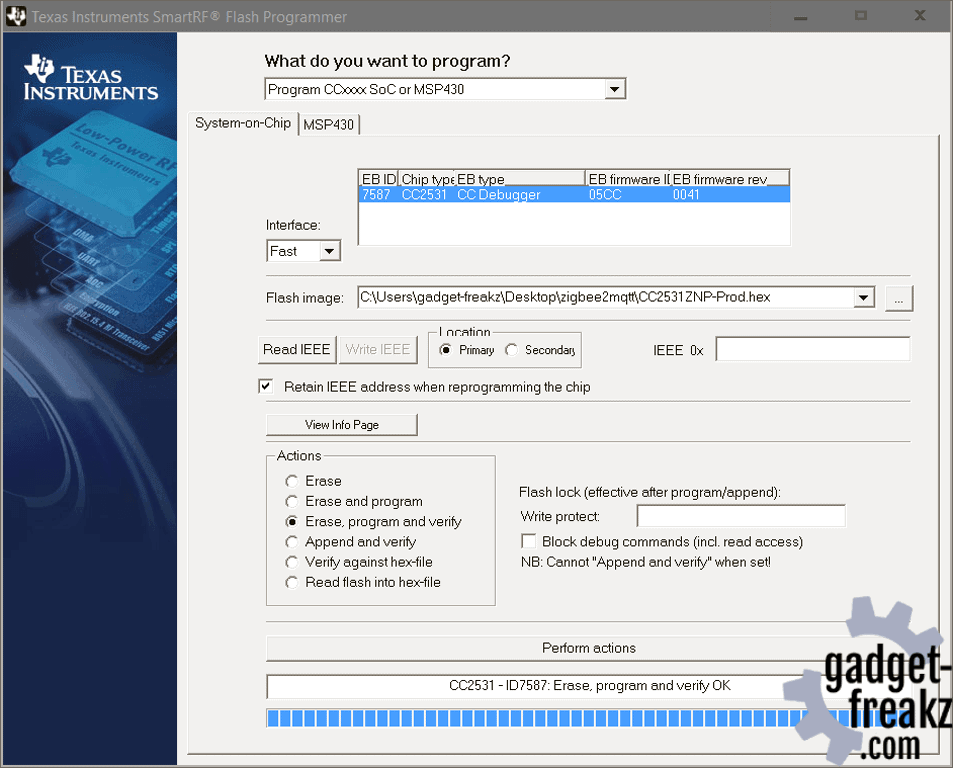
set reset button on the CCdebugger . The light on the CC debugger should now turn GREEN. - Start SmartRF Flash Programmer,
setup as shown below and click “Perform actions” .
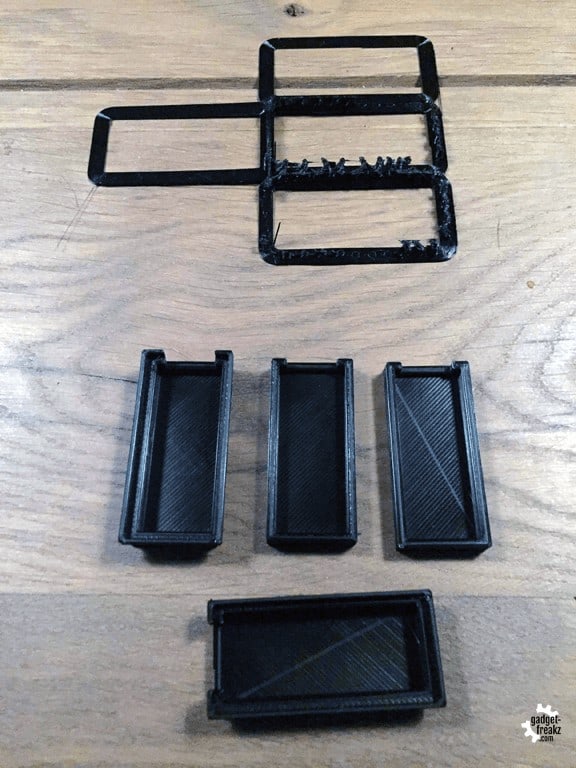
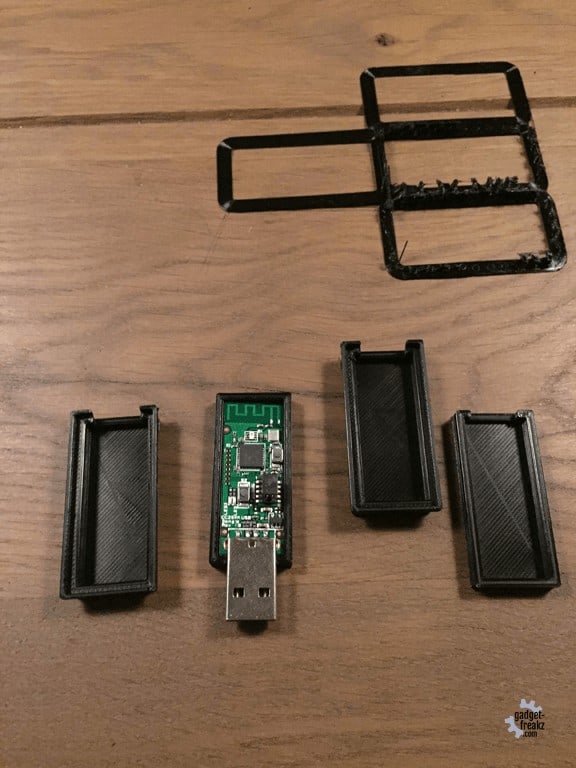
Put the Zigbee Gateway USB Sniffer in a nice case
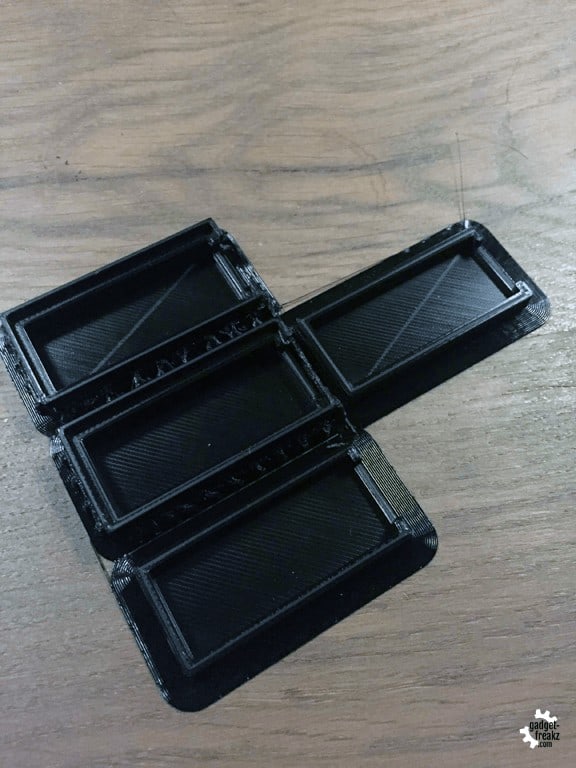
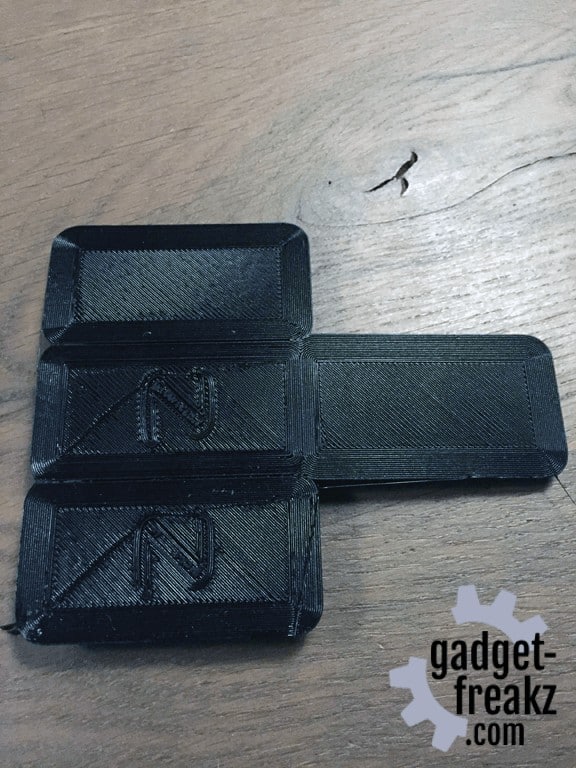
When the sniffer is flashed you can put it on your Raspberry. but a PCB with a USB connector is not that fancy. So when I searched on thingiverse I saw a nice design (link to 3d model) that I printed.
Install the (bridge/gateway) software
[cc lang=”bash” escaped=”true” width=”90%” noborder=”1″]
# Setup Node.js repository
# For Pi Zero use https://raw.githubusercontent.com/sdesalas/node-pi-zero/master/install-node-v8.10.0.
sh sudo curl -sL https://deb.nodesource.com/setup_8.x | sudo -E bash –
# Install Node.js
sudo apt-get install -y nodejs git make g++ gcc
# Verify that the correct nodejs and npm (automatically installed with nodejs)
# version has been installed
node –version # Should output v8.X.X (at time of writing v8.12.0)
npm –version # Should output > 6.X.X (at time of writing 6.4.1)
# Clone zigbee2mqtt repository
sudo git clone https://github.com/Koenkk/zigbee2mqtt.git /opt/zigbee2mqtt
sudo chown -R pi:pi /opt/zigbee2mqtt
# Install dependencies
cd /opt/zigbee2mqtt
npm install
[/cc]
Before starting the zigbee2mqtt software you need to edit configuration.yaml
[cc lang=”bash” escaped=”true” width=”90%” noborder=”1″]nano /opt/zigbee2mqtt/data/configuration.yaml [/cc]
[cc lang=”bash” escaped=”true” width=”90%” noborder=”1″] # MQTT settings mqtt: # MQTT base topic for zigbee2mqtt MQTT messages base_topic: zigbee2mqtt # MQTT server URL server: ‘mqtt://localhost’ # MQTT server authentication, uncomment if required: # user: my_user # password: my_password [/cc]
Save the file and exit.
If you are running an other device as your primary (Domoticz) device you can change mqtt://localhost in the previous file in
mqtt://<your domoticz server IP address> per example mqtt://192.168.1.1 .
If don’t have a MQTT broker then you can install it on your Raspberry with the following steps:
[cc lang=”bash” escaped=”true” width=”90%” noborder=”1″] wget http://repo.mosquitto.org/debian/mosquitto-repo.gpg.key sudo apt-key add mosquitto-repo.gpg.key cd /etc/apt/sources.list.d/ sudo wget http://repo.mosquitto.org/debian/mosquitto-wheezy.list sudo apt-get update sudo apt-get install mosquitto [/cc]
Running the bridge software (zigbee2mqtt)
[cc lang=”bash” escaped=”true” width=”90%” noborder=”1″] cd /opt/zigbee2mqtt npm start [/cc] You want to autostart npm, so you need to run it as daemon in the background automaticly when booting.
[cc lang=”bash” escaped=”true” width=”90%” noborder=”1″] sudo nano /etc/systemd/system/zigbee2mqtt.service [/cc]
add the following lines:
[cc lang=”bash” escaped=”true” width=”90%” noborder=”1″] [Unit] Description=zigbee2mqtt After=network.target [Service] ExecStart=/usr/bin/npm start WorkingDirectory=/opt/zigbee2mqtt StandardOutput=inherit StandardError=inherit Restart=always User=pi [Install] WantedBy=multi-user.target [/cc]
Test if everything is correct.
[cc lang=”bash” escaped=”true” width=”90%” noborder=”1″] # Start zigbee2mqtt sudo systemctl start zigbee2mqtt # Show status systemctl status zigbee2mqtt.service [/cc]
When you get the info messages that zigbee is started you can enable the created services:
[cc lang=”bash” escaped=”true” width=”90%” noborder=”1″]
sudo systemctl enable zigbee2mqtt.service
[/cc]
Things you need later on for your DIY Zigbee Gateway
[cc lang=”bash” escaped=”true” width=”90%” noborder=”1″]# Stopping zigbee2mqtt sudo systemctl stop zigbee2mqtt # Starting zigbee2mqtt sudo systemctl start zigbee2mqtt # View the log of zigbee2mqtt sudo journalctl -u zigbee2mqtt.service -f #Update zigbee2mqtt to the latest version with the following codes: # Stop zigbee2mqtt and go to directory sudo systemctl stop zigbee2mqtt cd /opt/zigbee2mqtt # Backup configuration cp -R data data-backup # Update git checkout HEAD — npm-shrinkwrap.json git pull rm -rf node_modules npm install # Restore configuration cp -R data-backup/* data rm -rf data-backup # Start zigbee2mqtt sudo systemctl start zigbee2mqtt [/cc]
Finished
At this point, you are actually running a DIY Zigbee gateway.
Now you are able to pair devices with zigbee2mqtt, but it’s in MQTT and not yet in your home-automation software. Learn how to pair
And now you can choose how you continue. Using Domoticz, OpenHab or Home-assistant.
We will choose for Domoticz, next we explain how to continue.
Domoticz and zigbee2mqtt DIY Zigbee gateway
Of course you can choose for MQTT, you can use this and configure it so that you can connect to Domoticz but it’s very technical. That’s the reason stas-demydiuk made an Python plugin for Domoticz.
reaction on the forum: Wooohoo! I love this plugin… so much easier now to handle the aqara devices!
Install the Domoticz Zigbee2MQTT Python plugin
- Clone repository into your domoticz plugins folder
[cc lang=”bash” escaped=”true” width=”90%” noborder=”1″] cd domoticz/plugins git clone https://github.com/stas-demydiuk/domoticz-zigbee2mqtt-plugin.git zigbee2mqtt [/cc]
- Restart D
omoticz - Go to “Hardware” page and add
new item with type “Zigbee2MQTT” - Set your MQTT server address and port to plugin settings
Once plugin receive any message from zigbee2mqtt server it will try to create appropriate device.
Compatible by plugin already:
Supported devices
GE
- GE Link smart LED light bulb, BR30 soft white (2700K)
- GE ZigBee plug-in smart dimmer
- GE ZigBee in-wall smart dimmer
Ikea
- IKEA TRADFRI control outlet
- IKEA TRADFRI wireless dimmer
- IKEA TRADFRI driver for wireless control (10 watt)
- IKEA TRADFRI driver for wireless control (30 watt)
- IKEA TRADFRI LED bulb E26 1000 lumen, dimmable, opal white
- IKEA TRADFRI LED bulb E27 1000 lumen, dimmable, opal white
- IKEA TRADFRI LED bulb E27 600 lumen, dimmable, color, opal white
- IKEA TRADFRI LED bulb E14 400 lumen, dimmable warm white, chandelier opal
- IKEA TRADFRI LED bulb GU10 400 lumen, dimmable
Innr
- Innr E27 Bulb
- Innr E27 Bulb warm dimming
- Innr GU10 Spot
- Innr E14 Candle
- Innr B22 Bulb dimmable
- Innr Puck Light
- Innr Strip Light
- Innr Under Cabinet Light
- Innr Spot narrow
- Innr Spot wide
- Innr Spot Flex narrow
- Innr Spot Flex medium
- Innr Spot Flex wide
OSRAM
- OSRAM Smart+ plug
- OSRAM LIGHTIFY LED Classic A60 clear
Philips
- Philips Hue dimmer switch
- Philips Hue Lux A19 bulb E27
- Philips Hue white A60 bulb E27
- Philips Hue White Single bulb B22
Sengled
- Sengled Element Classic (A19)
- Sengled Element Classic (A60)
- Sengled Element Touch (A19)
Sylvania
- Sylvania LIGHTIFY LED soft white dimmable A19
- Sylvania LIGHTIFY LED soft white dimmable A19
- Sylvania SMART+ Smart Plug
Xiaomi
- Xiaomi Aqara door & window contact sensor
- Xiaomi Aqara double key wired wall switch
- Xiaomi Aqara double key wireless wall switch
- Xiaomi Aqara human body movement and illuminance sensor
- Xiaomi Aqara single key wired wall switch
- Xiaomi Aqara single key wireless wall switch
- Xiaomi Aqara socket Zigbee
- Xiaomi Aqara temperature, humidity and pressure sensor
- Xiaomi Aqara vibration sensor
- Xiaomi Aqara water leak sensor
- Xiaomi Aqara wireless switch (WXKG11LM)
- Xiaomi Aqara wireless switch with gyroscope (WXKG12LM)
- Xiaomi MiJia door & window contact sensor
- Xiaomi MiJia human body movement sensor
- Xiaomi MiJia temperature & humidity sensor
- Xiaomi MiJia wireless switch
- Xiaomi Mi smart home cube
- Xiaomi Mi power plug ZigBee
Other
- Belkin WeMo smart LED bulb
- Custom devices (DiY) DNCKAT single key wired wall light switch
- Hive Active light dimmable
- Iris Smart plug
- Ksentry Electronics Zigbee OnOff Controller
- Nanoleaf Ivy smart bulb
- Nue ZigBee one gang smart switch
- Paulmann SmartHome Zigbee LED-stripe
- Trust Smart Dimmable LED Bulb
Add new devices to the plugin
You probally have devices that are supported in the zigbee2MQTT project but not yet in the Domoticz plugin. There are two ways to have your devices added:
1:You could create an issue on plugin’s Github and attach examples of MQTT messages for this device. when pushing the ‘Get started’ button you get a template message that helps to fill in the right information to get your device added.

2: For more advanced users that know Python a little bit: you could create adapter by yourself. You need to create new file in adapters folder for your device based on examples of already existing ones, then import your file and add corresponding item to adapter_by_model map to main plugin.py file. But don’t forget to push it to git so you can help other users that are less skilled with Python.
Coming Soon
will be added.. Work In progres…
- How to debug
- Dashboard in Node-red
- routers, repeaters and expanding range
- selling
preflashed devices? or a combined purchase? - How to integrate
in Home-assistant - Alternatives
Thanks to
forum discussion topic
Discount coupons
-
Design
-
Quality
-
Usability
-
Home-Automation compatibility
-
Price


